Key Takeaways
- Learn the essentials of crafting a pillow sham for your bedding.
- Discover the correct measurements and DIY techniques.
- Enhance your bedroom’s decor with custom pillow shams.
Pillow shams are an excellent way to elevate your bedding game. Whether you’re looking to personalize your space or enhance the aesthetics of your bedroom, making your own pillow shams can be a fun and rewarding DIY project.
Pillow Sham Measurements
Standard Pillow Sham Sizes
Understanding standard pillow sham dimensions is crucial to ensuring a perfect fit.
- Standard Size: 20 x 26 inches
- Queen Size: 20 x 30 inches
- King Size: 20 x 36 inches
- Euro Size: 26 x 26 inches
How to Measure for a Custom Pillow Sham
If your pillow doesn’t conform to standard sizes, follow these steps:
- Lay your pillow flat and measure its length and width.
- Add an additional 2 inches to each side for seam allowances.
- Decide on the border width for decorative purposes and add it to the total dimensions.
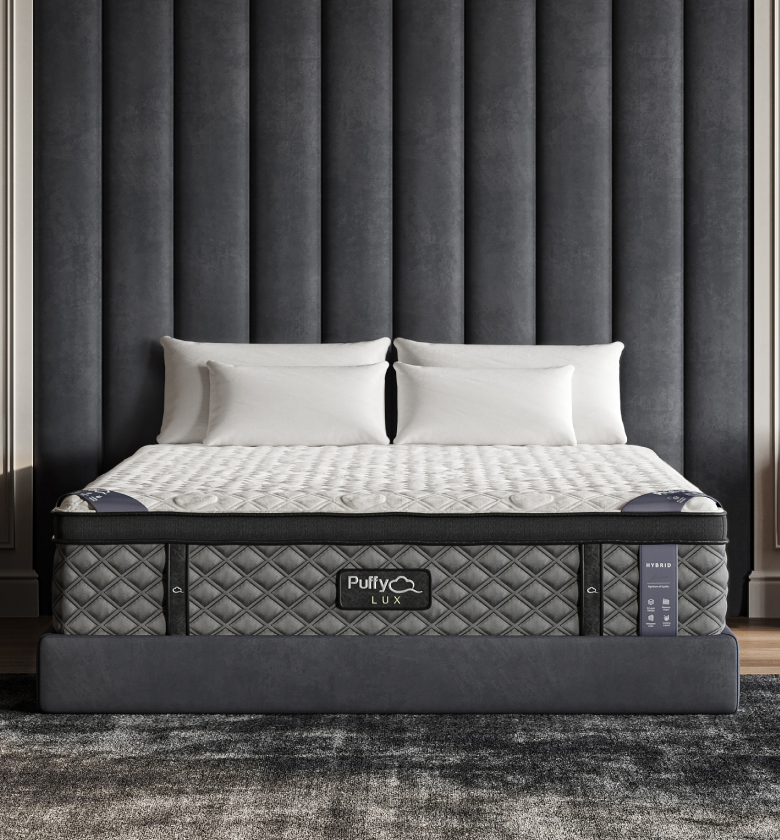
Puffy mattresses offer a luxurious foundation for your bedroom setup, perfectly complementing custom-made pillow shams.
DIY Pillow Sham
Materials Needed
To make your own pillow sham, gather the following:
- Fabric (cotton, linen, or your choice)
- Thread to match your fabric
- Sewing machine or needle
- Pins and measuring tape
- Scissors or rotary cutter
Step-by-Step Instructions
Step 1: Choose Your Fabric
Select a fabric that complements your bedding. Opt for durable materials like cotton or linen.
Step 2: Cut the Fabric
- Measure and cut one piece of fabric for the front panel.
- Cut two overlapping pieces for the back panel to create the envelope closure.
Step 3: Sew the Panels Together
- Hem the edges of the two back panels to prevent fraying.
- Place the front and back panels together, right sides facing inward.
- Sew along all four edges, leaving a small seam allowance.
Step 4: Turn and Finish
Turn the sham right-side out and press it with an iron to achieve a crisp look.
Customization Ideas
- Add decorative trims like lace or piping.
- Embroider initials or patterns for a personalized touch.
If you’re aiming for ultimate comfort and design cohesion, Puffy mattresses provide an ideal base to showcase your pillow shams.
DIY No-Sew Pillow Sham
For those who are not confident with sewing or simply prefer a quicker method, crafting a no-sew pillow sham is an excellent option. Start by selecting a high-quality fabric that complements your bedroom decor and ensure it is large enough to cover your pillow, including allowances for folding and securing.
- Use Fabric Glue: Lay the fabric flat and align the edges of your panels carefully. Apply fabric glue along the seams where the panels meet, pressing firmly to ensure a secure bond. Let the glue dry for the recommended time on the packaging before handling.
- Iron-On Adhesive Tape: For a polished finish, consider using iron-on adhesive tape to bond the fabric. Fold and press the edges to create clean lines, then apply the tape between layers and seal it with a hot iron.
- Double-Check Durability: Ensure the adhesive materials you use are both washable and durable, particularly if you plan to clean the pillow sham regularly.
This method not only saves time but also offers a creative outlet for crafting elegant designs. Adding a decorative trim or buttons with adhesive can further elevate the aesthetic appeal of your no-sew sham.
How to Choose the Right Pillow Sham Design
Matching Your Bedroom Theme
- Select colors and patterns that align with your decor.
- Choose complementary or contrasting shades for visual interest.
Functional Considerations
- Opt for machine-washable fabrics for ease of maintenance.
- Ensure the sham size matches your pillows perfectly.
Adding a Professional Touch
Taking your pillow sham to the next level requires attention to detail and thoughtful design enhancements.
Consider incorporating piping along the edges of your sham for a polished, tailored look.
Piping not only strengthens the seams but also adds a stylish frame to the design, creating a standout piece in your bedding ensemble.
For closures, elevate the standard envelope style by experimenting with functional yet decorative elements. For example:
- Button Closures: Use vintage or themed buttons to add charm and character while keeping the sham secure.
- Invisible Zippers: These offer a sleek and modern aesthetic, ensuring that the closure blends seamlessly into the design.
- Ties or Ribbons: Add a whimsical touch with fabric ties or ribbons that can be tied into bows, making the sham both functional and decorative.
Additionally, combining various textures or patterns within the sham's design can make your project truly unique.
By blending complementary fabrics or adding embroidered details, you can achieve a luxurious, custom-made look that rivals store-bought options.
Maintaining Your Pillow Shams
Cleaning Tips
- Wash shams separately to avoid color bleeding.
- Use gentle detergents to preserve fabric integrity.
Storage Suggestions
- Store pillow shams flat to prevent creases.
- Keep them in a dry, cool place to maintain their appearance.
Conclusion
Crafting your own pillow shams is a rewarding DIY project that allows you to personalize your bedroom.
By following the steps and tips outlined here, you’ll create stunning, functional shams that enhance your space.

- 8 layers of cloudlike luxury.
- Medium-plush feel.
- Gel-infused cooling.
- 101-night sleep trial.


